
Svolværgeita, Fløya + Djevelporten hike in Lofoten
Sitting high above the town of Svolvær, the capital of the Lofoten Islands is the Svolvaægeita (or the Svolvaer Goat) and the mountain of Fløya.
If you’re looking to go hiking in Lofoten Norway then the Lofoten Djevelporten trail is one I’d highly recommend.
As you hike the sherpa steps to get a closer view of the Svolvær Goat is on many peoples’ bucket lists of things to do in the Lofoten Islands.
Some take this further and complete the full flight of stairs to Djeveloprten; a rock balancing in between a narrow opening, and then on to Fløya where you get impressive views of both the Svolværgeita below you and the town of Svolvaer, surrounding mountains, lakes, and fjords.
If you’re visiting Lofoten, I highly recommend completing this hike for experienced hikers. You get incredible views on par with those on the Reinebringen hike, but this hike is arguably more fun.
Here is everything you need to know about the Djevelporten, Svolvaergeita, and Fløya hike.

How to get to the Djevelporten trailhead
The Djevelporten trailhead is the same trailhead that’s commonly used for hiking Fløya in Svolvaer as well as for the approach for climbing the Svolvaer goat or the Svolværgeita and various other trails.
You can find Djevelporten parking by searching ‘Parkering for Sherpasti, Djevelporten, Svolværgeita og Fløya‘ on Google Maps.
Read more: Best Lofoten Islands Beaches
This parking lot is a 15-minute walk from Circle K off the main road or a 20-25 minute walk from Svolvaer to the Djevelporten Lofoten trail head.
If parking at the foot of the steps is full, you can find additional parking near the Shell garage across the road from Circle K. Parking at this parking lot is free on Sundays and paid for using the EasyPark app.
Since this hike has been growing in popularity, parking at the Fløya trail head comes with a fee. Parking here costs 45 NOK an hour or 300 NOK a day.
In the summer months, it’s likely this parking lot will get full from mid-morning.
Read more: Ryten hike and Kvalvika Beach
What to know before doing the Djevelporten hike
Before hiking Fløya in Svolvær, consider the following. Preparation is key. The hike offers stunning panoramic views of Svolvær and surrounding areas, making it a rewarding experience.
- Navigation on the trail: Follow the red ‘T’ marks, which indicate the path.
- Svolvaer Weather: Lofoten weather can change rapidly. Check forecasts and prepare for varying conditions.
- Safety: While the hike is generally safe, always stay on the marked path. The Djevelporten Boulder, a highlight of the trail, should be approached with caution.
- Mobile Signal: Coverage might be inconsistent. Inform someone of your plans before heading out.
- Season: Best hiked in summer. Winter hikes can require experience and additional gear due to snow and shorter daylight hours.
- Respect Nature: Follow the Leave No Trace principles to minimize your impact on the environment.

Svolvaergeita hike on the Djeveltrappa
The Solvaergeita is the name given to the strangely shaped rocks sitting between Svolvaer and the peak of Fløya.
The rocks are said to be shaped like goat’s ears, hence the name the Svolvaer Goat!
Personally, I think it looks more like a llama or alpaca, but I’m sure goats are more common around these parts so I can see why a goat was chosen!
The Djeveltrappa (Devil’s stairs) is what the locals call the steps that lead all the way up to Djevelporten and past some great viewpoints of the Svolvaergeita.


You’ll see why they’re called this when you take them on! The Svolvær sherpatrappa definitely pack a punch!
The Djeveltrappa are sherpa steps just like those on the Reinebringen hike and the Sherpatrappa in Tromsø.
They were built by sherpas from Nepal and help reduce soil and land erosion from the numerous feet that trample up this hillside every year.
Starting from the parking lot, you’ll pass under some prayer flags and begin your trip up the Djeveltrappa.
The stairs sometimes feel relentless, but there are a few places where you can rest and enjoy the views.
There are also a few sections where you get a short break from the steps and have to navigate some larger boulders to continue your trip.

As you continue up, you’ll come to a clear path branching off to your right. You’ll know it’s the right one if you’re also at the same height as the base of the Svolvaergeita.
This is the path that climbers take to begin their climb of the Svolvaergeita.

Note: Climbing Svolvaergeita is absolutely not something you should do solo. Only very experienced hikers and those on Svolvaergeita climbing tours should attempt this.
We didn’t climb the Svolvaergeita since we were visiting Lofoten in winter.
If you are not on a tour then you can walk towards the base if you want to get a closer look at the rock or carry on to Djevelporten below.
The Djevelporten hike (Devil’s Gate Lofoten Islands)


The Djevelporten (Devils gate) is a rock that’s suspended in a narrow rocky column and nothing else below it apart from a sharp drop-off.
From the turn-off towards the Svolvaergeita, the trail continues upwards on the sherpa steps.
The steps now take you all the way to the Djevelporten and are in really good shape!
Luckily there are more beautiful views and benches along the way where you can rest.
Read more: Best camping in Lofoten
Once you have finished one of the steepest sections of steps, you arrive at Djevelporten.
If you wish to step out onto the rock, there’s a small path to the right-hand side which seems to be the one most people use to climb up.
I’ve seen some people say that Djevelporten is safe and not that bad as it’s only a few meters off the ground and while this is true in some respects, the ground below it is extremely steep and falling off could lead to you sliding quite a long way on harsh terrain.
Take extreme care if you choose to stand on Djevelporten.
Continuing on to the Fløya hike in Lofoten


From Djeveloprten, your hike continues onto Fløya which has one of the best views in Lofoten (which is saying something since there are so many beautiful views!).
The steps are finished now and you’ll be following a rocky, crumbly trail along the mountainside.
While you’re mostly protected on your left-hand side from falling, there are areas where it opens up to a steep drop-off. And, on your right-hand side, you can see the steps you’ve just climbed.
Follow the path, taking your time and using your hands where needed to keep your balance.
I like to follow the 3-points of contact rule that I learned while caving in Campbell River. Where you have three of your four points of contact (both hands, both feet) touching the ground or surroundings at one time.
To reach the true peak of Fløya, you’ll need to climb up a very steep and challenging path. Personally, I don’t think the views from up here are any more impressive than what you can get by walking further to the viewpoint (described below), and not worth the risk.
Instead of summiting the true peak, we carried on straight in front of us, which required a small descent before continuing along the ridge line.
You’ll take a few ups and downs as you navigate over the rocky terrain and eventually get to a point where you can’t go any further.


If you stand you’ll be able to see the Svolvaergeita down below you.
From up here it looks super low down, but remember you started even further below that before you hiked up the Djeveltrappa!
We found a spot up here and enjoyed some lunch and snacks before hiking down.
We loved the views of both Svolvaer and behind us, you could even see where we’d hiked before on the Tjeldbergtind trail!
To hike down, follow the ridge line and then look for a path just off to your left (where the decline from the peak of Fløya and the ridge line meet at a low point).
You can take this path down which is quite rocky and tricky in parts, or go all the way back to Djevelporten and take the stairs all the way back to the car.
Remember to take care on the way down, going down the steps can actually be harder than going up them!
Djevelporten and Fløya trail stats

AllTrails is my go-to hiking app for finding, planning, and navigating while I’m out on the trails. With offline maps on AllTrails+ you can be confident you’re still on the right track, even without mobile signal.
- Distance: 4.2 km (round trip)
- Duration: 3-4 hours
- Elevation: 515 m
- Difficulty: Intermediate
- Trailhead: At the foot of the stairs on Blåtindveien in Svolvaer.
Can you hike Djevelporten and Fløya in winter?

It’s not recommended to do the Svolvaer Floya hike in winter if there is already snow in the mountains.
We did this hike in late November and it was before any snow had fallen in Lofoten.
While the stairs were icy, it was easy enough to find patches where there was no ice. I’d also recommend packing microspikes with you for early and late-season hiking (spring and autumn/winter), as they can help stop you from falling.
Read more: Things you should know before going to Lofoten
Hiking this in the snow might be okay on the way up, but it’ll be super treacherous on the way down.
That’s because the snow gets worn down in a way that’s not easy to hike down on and increases your chances of slipping. If you slip on snowy steps you can pick up speed really easily and that could be very dangerous on this Lofoten hike.
Read more: Kleppstadheia hike in Lofoten

What to pack for the Djevelporten Lofoten Hike
What to pack for this hike depends on what season you’re hiking in.
- Check out my day hike packing list here.
- If you’re hiking in summer you should pack sunscreen, sunglasses, layers, water and bug spray as well as everything in the 10 essentials for hiking list.
- Here is what to wear hiking in hot weather
- Check out this post on the best leggings for hiking or what to wear hiking in summer for more details and my gear recommendations.
- If you’re hiking in winter after the snow has started falling you’ll need microspikes at the very least. If there is a lot of snow you will probably need snowshoes.
- You should also take plenty of layers including a fleece layer, a puffy insulated jacket and a wind and waterproof outer layer. Hats and gloves are also necessary as well as a good backpack to keep everything in.
- You should also pack water and some snacks too to keep you going as they’re part of the 10 essentials for hiking!
- Planning a hiking date? Check out what to wear on a hiking date but still look cool.
FAQs for the Svolvaer Floya hike
Is the hike to Djevelporten Svolvær suitable for children?
The Djevelporten stairs are in good shape and shouldn’t post too many issues apart from getting tired.
How to get to Lofoten?
Is the “Djevelporten Boulder” safe?
Final thoughts on Floya and Djevelporten Lofoten
The Svolvaer Floya hike Lofoten is often combined with Djevelporten Svolvaer where you’ll get to see incredible views of the town below you as well as the islands that make up the Lofoten Islands.
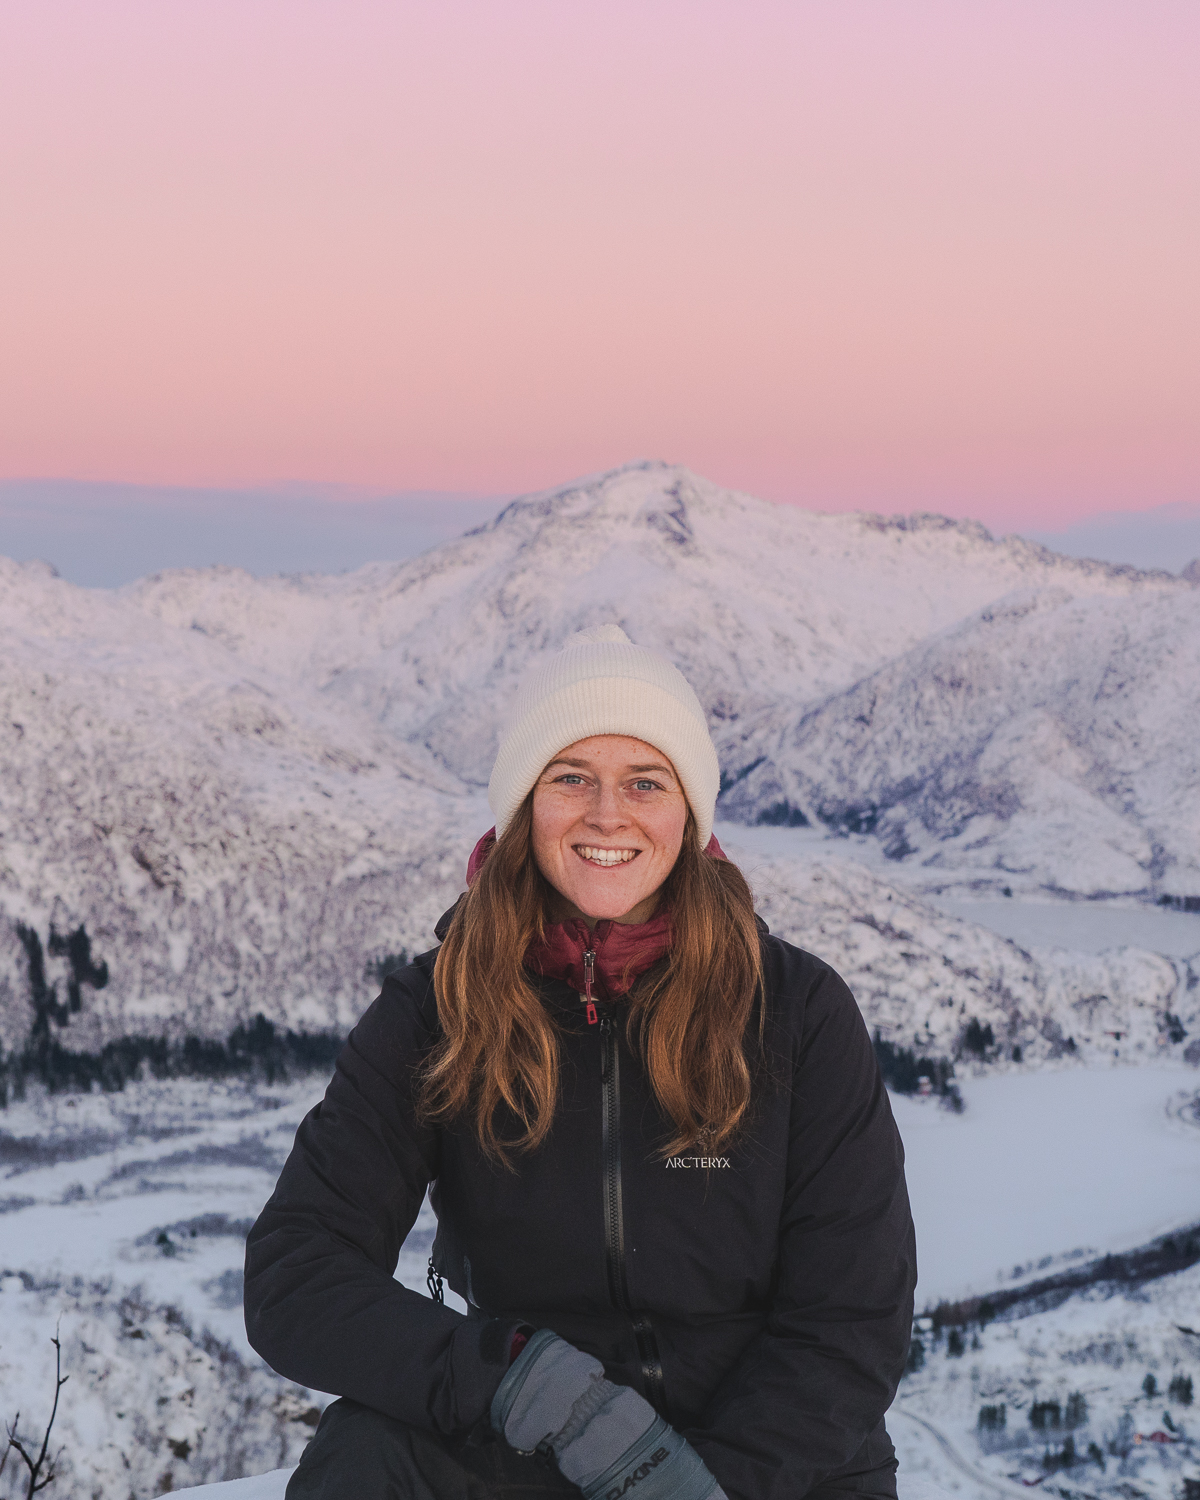
We hiked this in November when there were limited daytime hours but that made it even prettier as we were able to enjoy a sunset basically the whole time.
The Svolvaer hike was one of our favorites along with the Tjeldbergtinden hike which we did multiple times. It’s easily one of the best hikes in the Lofoten Islands and I’d highly recommend it if you’re visiting Lofoten.
If you’re on a longer Norway road trip, then be sure to check out these hikes in Senja, or these Tromso hiking guides for even more incredible hikes!
Last Updated on August 22, 2023 by Hannah
Hannah started That Adventurer after graduating back in 2013 and has documented all of her adventures since then. From backpacking South America to city breaks in Europe, a 3 month road trip across the USA in a self-converted van and 6 years living in Canada, you’ll find posts on all of this.
Hannah specialises in active travel and on That Adventurer you’ll find hiking, walking, biking, skiing and all sorts of active travel guides to allow you to see a destination in an adventurous way.
Now back in Europe, you’ll find new guides as Hannah and her husband spend the next year ‘digital nomading’ from Norway to Portugal, Switzerland to Scotland and places in between.


